
Last updated November 17, 2026
 Hardwood
 Engineered hardwood
 Luxury vinyl plank
 Laminate
 Porcelain tile
 Carpet
 Shaw
 Mohawk
 COREtec
 Pergo
Free in-home measure and written estimate: Shaw, Mohawk, COREtec and Pergo lines compared on your own rooms, with carpet, tile, vinyl plank, laminate and hardwood laid out side by side
Get your free estimateHow to Prepare Your Home for a Flooring Installation in Whitney
Most homeowners think the hard part is choosing the floor. It isn’t. The crews who show up at your door are on the clock from the moment they arrive, and every hour spent waiting for you to clear a closet or move a sofa comes out of your schedule and, likely, your wallet. In our experience, the jobs that run smoothly and finish on budget are the ones where the homeowner did the quiet prep work a few days before anyone touched a pry bar. This guide walks through exactly what that prep looks like in Whitney: what to move, what to measure, how to handle doors, how to check the subfloor, and what to leave alone. Read it before your measure appointment, not the morning of.
Quick Answer
To prepare your home for a flooring installation in Whitney, clear all furniture and belongings from the work area, remove or protect wall hangings, plan for appliances and toilets to be disconnected, vacuum the existing floor, and inspect the subfloor for soft spots or moisture. Confirm the temperature and humidity in your home will stay stable for the days before, during, and after install, and ask your installer which tasks are included versus billed separately. Do these things ahead of time and you’ll avoid most delays, extra charges, and last-minute surprises.
Styles & brands we work with
- Hardwood
- Engineered hardwood
- Luxury vinyl plank
- Laminate
- Porcelain tile
- Carpet
- Shaw
- Mohawk
- COREtec
- Pergo
Table of Contents
- What Furniture Needs to Move Before the Crew Arrives?
- Acclimation: How Long Should New Flooring Sit in Your Home?
- Subfloor Inspection You Can Do Before the Install
- Appliances, Toilets, and Baseboards: What’s Included and What Isn’t
- Temperature and Humidity During a Whitney Installation
- What to Do With the Old Flooring and Debris
- Install Day: What to Expect Hour by Hour
- The Final Walkthrough and Post-Install Care
What Furniture Needs to Move Before the Crew Arrives?
Everything in the room. Not “the big stuff.” Everything. Every installer will tell you the same thing: the room needs to be empty of furniture and personal belongings before work can begin, and that includes the china hutch, the bookshelf full of paperbacks, the treadmill, and the box of holiday decorations shoved into the corner. It sounds like overkill until you watch a crew spend two hours carefully wrapping and carrying items up the stairs on your dime.
Most crews will move a small number of heavy items if you ask, but assume they won’t. Furniture moving is a separate task from flooring installation, and many installers exclude it entirely from their scope. Ask at the estimate visit exactly what your installer will and won’t handle, and get it in writing. The written estimate is where the boundaries live.
A practical plan for moving furniture in a Whitney home:
- Three to five days before install, clear a staging area in your garage, hallway, or another room where furniture can live for a week.
- Move items you can lift yourself (chairs, small tables, lamps) first. This reduces the pile the installers see.
- For heavy furniture, ask at the estimate whether it’s included. If not, line up help before install day.
- Empty every closet, cabinet, and pantry that sits inside or beside the work area. Dishes, books, clothes, and toys all go.
- Remove wall décor, curtains, mirrors, and shelves. Dust from demo and cutting flies further than you expect, and loose items can fall.
- Take photographs of the room in its cleared state. If a wall gets nicked or a door scrapes, you’ll know exactly what was there before.
One more rule that saves stress: clear the path, not just the room. Installers need to carry material in and debris out through your house. Move shoes, rugs, plants, and anything fragile from the entry, hallway, and stairs. If your home is in Whitney and the outdoor temperature is well above seasonal norms, plan for doors and windows to stay open during install, which means anything lightweight in the path becomes a projectile.
Acclimation: How Long Should New Flooring Sit in Your Home?
New flooring needs to sit inside your home before it’s installed so it can expand or contract to match the moisture and temperature of the room it will live in. This is called acclimation. The exact time depends on the material, and the only reliable source for your specific product is the manufacturer’s instructions and your installer’s written recommendation. Don’t guess from a blog, including this one.
What we can say is that acclimation varies widely by material type, and that a box of Flooring Whitney-installed product is just as sensitive to this as any other. A few general things are true across the board:
- Hardwood and engineered wood are usually the most sensitive to moisture swings and often need the longest acclimation window. A sudden dry spell or a wet week in Whitney can change that.
- Luxury vinyl plank and laminate, including Pergo, LifeProof, and Mannington lines, still need to acclimate, though the time is typically shorter than solid wood.
- Tile doesn’t need acclimation the way wood does, but the room conditions during install matter for the adhesive. More on that below.
- Carpet settles quickly once unrolled, but keeping it indoors briefly helps wrinkles relax.
The installer will usually deliver your product to your home a few days before the scheduled install so it can sit. Don’t unstack it, don’t move it to the garage, and don’t leave it in a room that gets hotter or colder than the install space. Moving the boxes again defeats the point.
Your home’s HVAC should be running at normal household conditions during acclimation and through the install. If you’re planning an HVAC tune-up, a deep clean, or anything that has the system off for hours, do it before you order flooring, not during acclimation. Read Whitney-area weather carefully during the shoulder seasons; a warm, dry week can dry out the interior fast.
Subfloor Inspection You Can Do Before the Install
The subfloor is the surface beneath your new flooring, and it decides how the finished floor looks and performs. Most installers won’t accept a floor over a bad subfloor, and if they discover problems on install day, the job stops while you discuss options. That conversation is much easier three weeks before, not the morning of a booked install.
Here’s what you can inspect without special tools, using steps you can safely do:
- Walk the room barefoot. A soft, springy spot, or a hollow thud, usually means the subfloor is loose or a plywood sheet has started to delaminate. Mark it with tape so you don’t forget where it is.
- Look for gaps, cupping, and cracks. Lifting or dipping edges usually point to moisture or movement. Don’t try to fix them yourself; just note them.
- Check for squeaks. Narrow down where they come from. Installers can often fix them, but only if they know where they are.
- Look at any transition thresholds. Are there areas where the existing floor meets tile, wood, or carpet from an adjoining room? A small gap here can become a bigger problem if the new floor is thicker.
- Check for visible moisture. Discoloration, musty smells, or warped boards are signs of past water intrusion. Report them, and don’t cover them up.
If your home has a concrete slab foundation (common in much of the Las Vegas Valley, including Whitney), don’t assume the surface is flat. Slab floors often need prep work to be suitable for certain materials. A licensed installer can test flatness and moisture and tell you what prep is needed. This is one of the areas where the estimate can shift, which is why asking about it at the estimate visit is worth the ten minutes.
What you shouldn’t do: try to fix subfloor issues yourself. Pulling up plywood in a finished home can turn a manageable problem into a larger one, and any improper patching will be flagged during installation and will likely need to be redone. Let a professional handle stabilization, leveling, and moisture mitigation. The tile flooring installation page touches on how this applies to tile specifically if you’re going that route.
Appliances, Toilets, and Baseboards: What’s Included and What Isn’t
Every flooring estimate has a scope, and the DIY prep question is really “where does the scope line end?” For appliances, toilets, and baseboards, that line moves depending on the installer and the job. This is the single biggest source of install-day conflict, so pin it down at the estimate.
Appliances. Refrigerators, ovens, dishwashers, and washer-dryers in the work area need to be moved. That’s usually the homeowner’s job, and the appliance usually needs to be unplugged and disconnected from water or gas. A washing machine that stays connected during a floor replacement can leak, and a gas appliance that gets disconnected and reconnected improperly is a safety hazard. If the appliance runs on gas, a licensed professional should disconnect and reconnect it, always. Don’t do this yourself.
Toilets. Replacing a toilet after flooring goes in is more involved than most people expect, because the toilet has to be removed and its drain line exposed before the floor goes down. Installers vary; some remove and reinstall, some won’t. Ask explicitly at the estimate, and don’t plan on doing this yourself unless you’ve done it before and know how to replace the wax ring correctly.
Baseboards. Removing and reinstalling baseboards is a separate task from laying the floor. In many installations the baseboard either comes up (if it’s within scope) or the new floor is cut to fit around it and covered with shoe molding or quarter round. Both are legitimate; they look different and cost different amounts. Ask which approach your estimate covers, because again, this is where surprises live.
Whatever the answer for your specific job, get the scope in writing. “We’ll handle the appliances” means nothing on install day if the estimate says “appliances by homeowner.” Ask. Confirm. Get it typed.
Temperature and Humidity During a Whitney Installation
Whitney sits in the Las Vegas Valley, which means very dry air most of the year, hot summers, mild winters, and occasional dry wind that pulls moisture out of a home fast. That climate has a direct effect on how flooring behaves during and after installation.
Three things every homeowner should know about working with flooring in this climate:
- Adhesives cure faster in dry heat. If the room is too hot or too dry, adhesive can set before the installer has time to position planks or tile. That’s not cosmetic; it affects bond strength.
- Wood and laminate can shrink in a dry home. In winter, indoor humidity drops, and a floor installed in a wetter month may develop gaps by February. A stable, moderate indoor environment before, during, and after install is the best defense.
- Sudden temperature swings can cause problems. If you’re doing a full-home HVAC replacement, or running a heater for the first time in months, keeping the thermostat steady during install week matters.
Ask your installer what indoor temperature range they want during install and for the first few days after. They may recommend running your HVAC normally, keeping windows closed, and avoiding heavy floor washing for the first week. Tile adhesive, in particular, needs stable conditions to cure properly; a floor that gets wet before the adhesive has fully set can come loose.
For anyone who is replacing carpet installation in an upstairs bedroom, expect a bit more dust and a slightly different acclimation rhythm than a plank install; carpet doesn’t need the same humidity care, but the room still needs to be cleared and comfortable.
What to Do With the Old Flooring and Debris
Removal of the old floor is its own task. Depending on what’s there, and what your installer’s scope covers, you may be responsible for demolition and hauling your old flooring away.
Ask at the estimate:
- Is removal of the existing floor included in the estimate?
- Is hauling and disposal included, or does it cost extra?
- If I remove the old floor myself, does that change the price, and what condition does the installer need the subfloor in?
- If the old floor is glued down, or has multiple layers, does that change the work?
If removal is included, great. If it’s not, decide now whether you’ll handle it or ask the installer to quote it. Pulling up old vinyl, laminate, or carpet by yourself is possible for many materials, but a glued-down floor or a very old layer can take a full weekend and leave behind adhesive that a new floor can’t sit on without prep. Don’t discover that the day the crew arrives.
Plan for the volume of debris. A typical mid-size room can fill several contractor bags or a small dumpster with old flooring, underlayment, and baseboard removal. If your installer is hauling, they’ll bring the right container. If you’re handling it, arrange your own disposal before install day, since most municipalities require bulky flooring to be bagged and may limit curbside pickup.
Install Day: What to Expect Hour by Hour
Install day usually follows a predictable sequence, though the details vary by material. Here’s the general flow, from arrival to the start of actual flooring work:
- Arrival and walkthrough. The lead installer walks the room, confirms the scope, and notes any prep issues you haven’t already resolved.
- Protection and prep. Floors, walls, and doorways get covered. Any remaining demo or tear-out starts, if it’s within scope.
- Subfloor prep. Any patching, leveling, or moisture barrier work gets done.
- Installation begins. Actual flooring work. Tile and hardwood are slower per square foot than carpet or luxury vinyl plank.
- Cuts and trims. Transitions, baseboards or shoe molding, and doorway edges get finished toward the end.
- Cleanup. Debris out, dust down, floors wiped. This usually takes the final hour.
A realistic expectation: for most bedrooms and mid-size living rooms, plan for the install to take the better part of a day, and for larger spaces or tile, plan for multiple days. Ask at the estimate what day count your project needs. The schedule is set at the estimate, not by promise on install day.
Plan where you’ll be while the work is happening. If the room is your only living room or your kitchen, you may want to be out of the house for a few hours during demo and cutting. Dust containment is good, but not perfect.
If you have pets, close them in a separate room or take them out of the house. A good installer will tell you when it’s safe to let them back in.
The Final Walkthrough and Post-Install Care
The job isn’t done when the last plank goes down. The last step is a walkthrough, and you should be part of it.
What to check:
- Every transition line. Between rooms, at doorways, and where the new floor meets existing surface.
- Baseboards and trim. Check for gaps, pin holes, and scraping at doors. Doors that dragged on the old floor may now scrape the new one.
- The edges of the room. Look for spots where the flooring doesn’t sit flush.
- Tile grout lines. Consistent width, no voids.
- Cleanliness. Dust on top of cabinets and in closets that were “protected” is a common surprise.
After the install, follow the care instructions your installer gives you. For most floors, that means no wet mopping for at least the first week (especially tile and any adhesive-based product), keeping furniture on felt pads, and holding off on heavy furniture in the first day or two. Ask your installer what’s recommended for your specific product. The manufacturer’s care guide lives with the product, and it trumps any advice you’re given verbally.
For wood floors, especially, acclimation doesn’t end when the install does. Your home should stay at normal indoor temperature and humidity for the first week or two. If you’re heading out of town right after install, ask your installer whether it’s safe to leave the HVAC at its normal setting.
Common Mistakes to Avoid
- Moving the furniture the morning of the install. It seems efficient, but it puts the crew on the clock while you’re still clearing. Have the room empty the night before.
- Ignoring the subfloor. A soft or uneven subfloor will show through the new floor quickly. If you feel or see a problem, raise it at the estimate, not on day one.
- Assuming “installation” includes removal, hauling, and appliance handling. Read the estimate. Ask exactly what is and isn’t included. The written estimate sets the final price, and it also sets the scope.
- Skipping acclimation because the house already feels fine. Acclimation is about the material adjusting to your home, not about whether you personally feel comfortable. Follow the manufacturer’s instructions and your installer’s recommendation.
- Leaving the windows open during install in the heat. In Whitney, a hot day with open windows can push indoor humidity in the wrong direction and slow adhesive cure. Keep the house closed and the HVAC running.
- Forgetting about baseboards and trim. Ask about baseboard removal, replacement, and door-cutting in advance. These items look small and cost real money.
- Trying to DIY a glued-down floor or a subfloor repair. Some jobs are within reach for a capable homeowner. A glued floor, a moisture problem, or gas appliance work isn’t. Call a professional.
See the difference
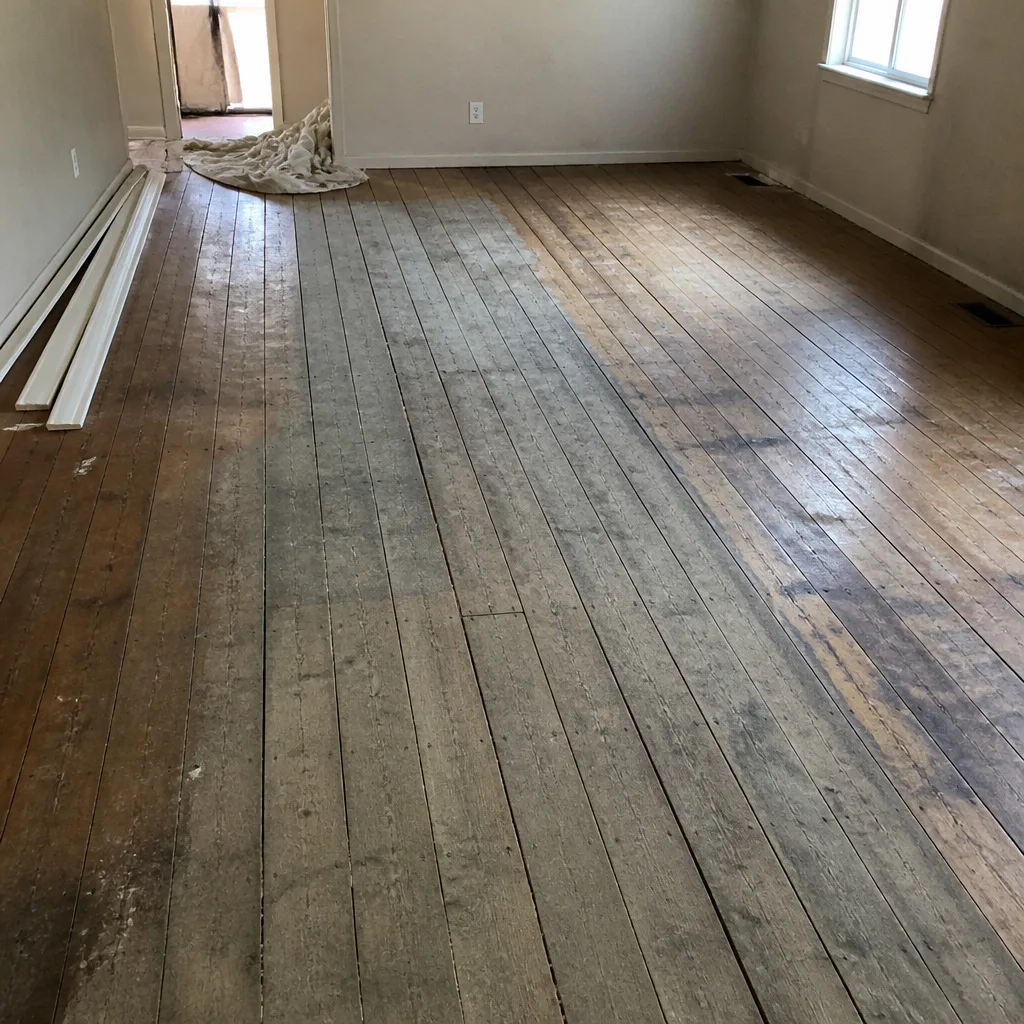 Before
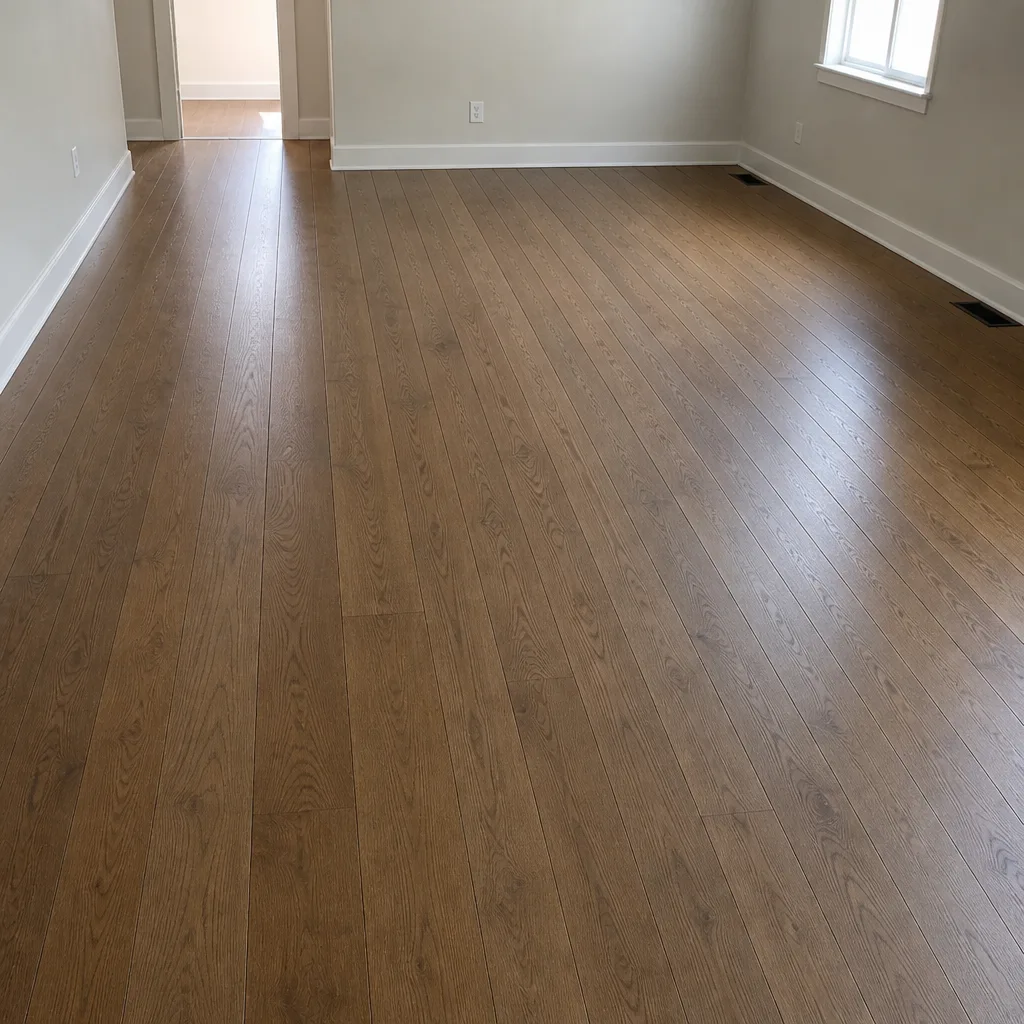 After
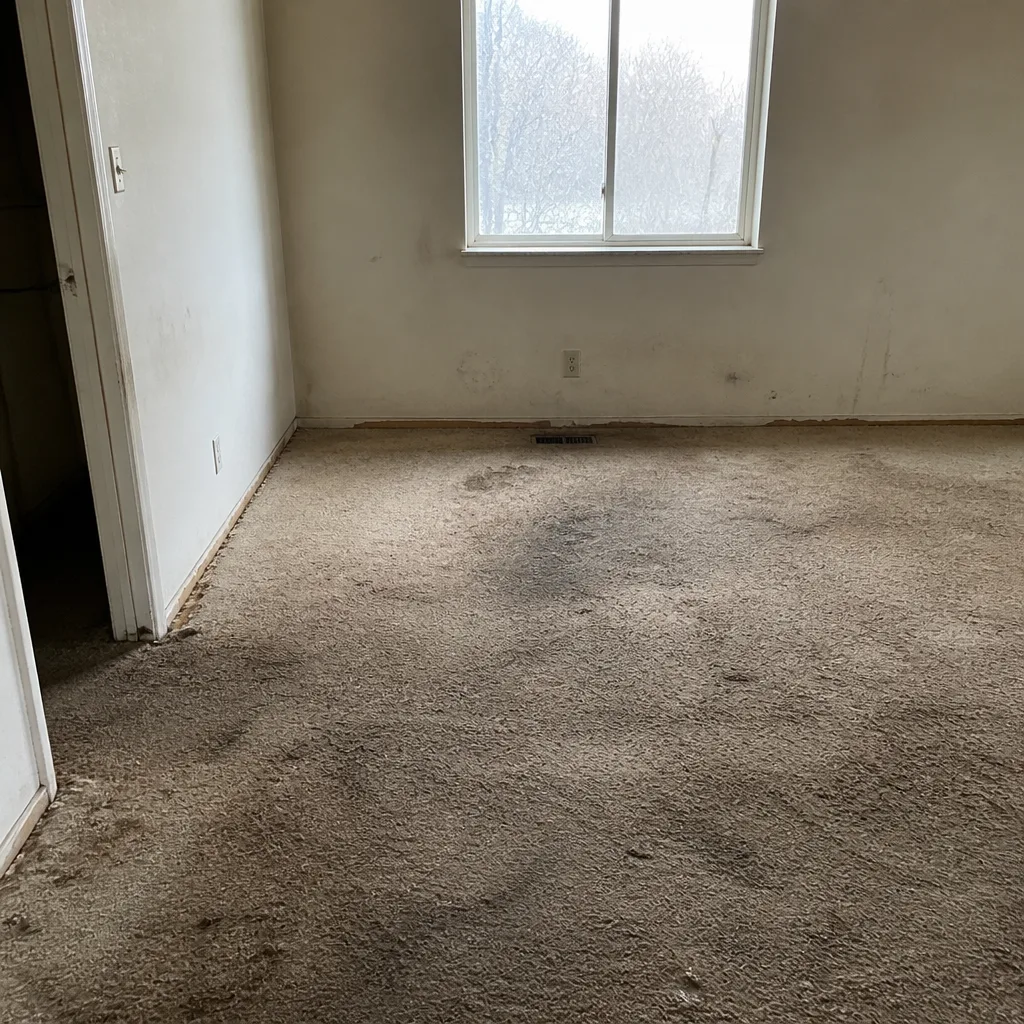 Before
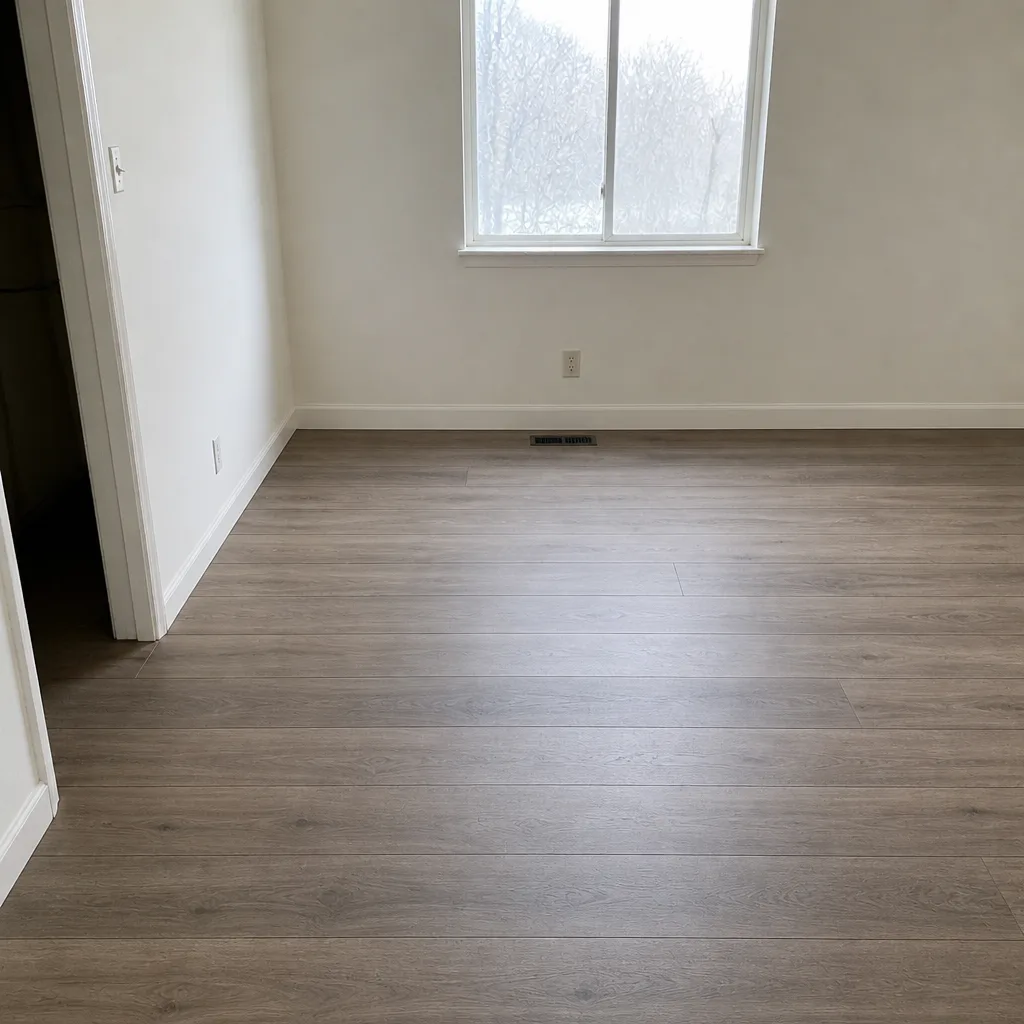 After
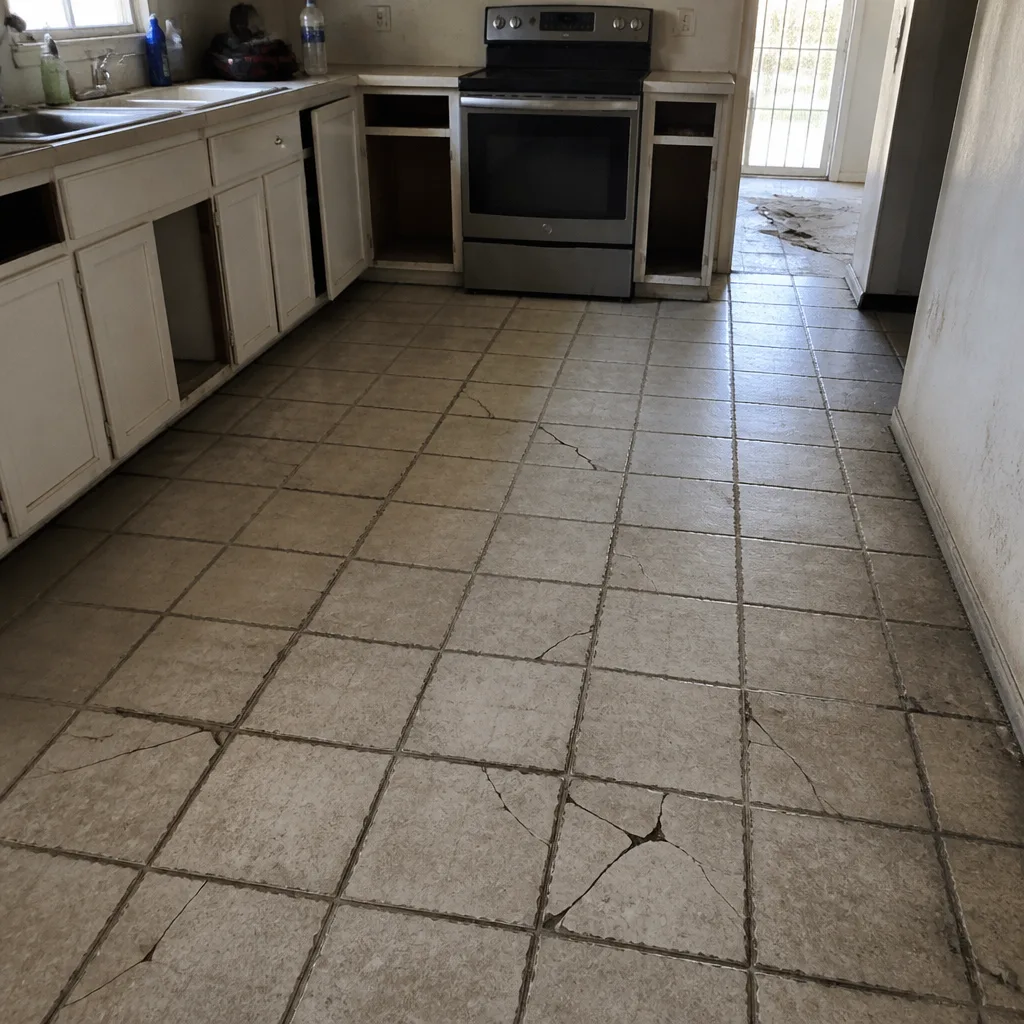 Before
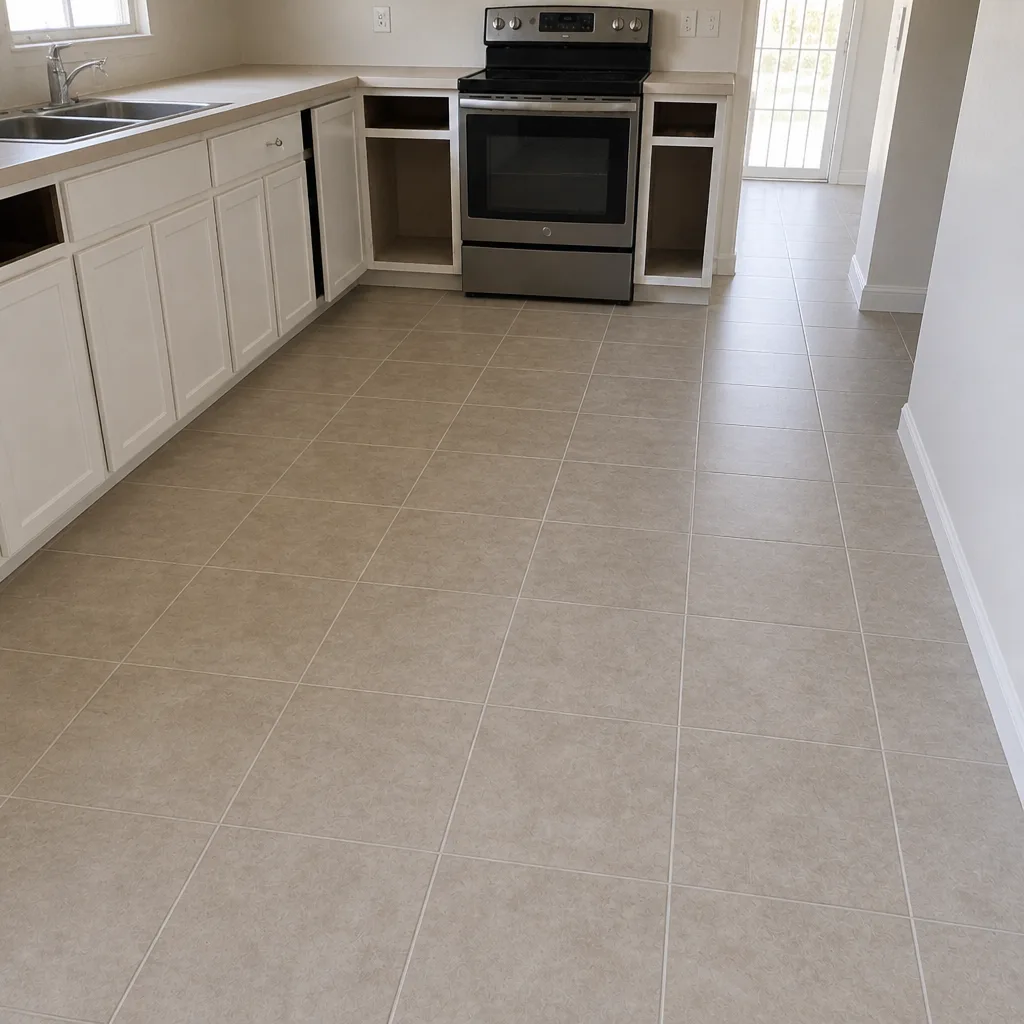 After
When to Call a Professional
A professional installer is the right call whenever the job involves gas appliances, water connections, subfloor moisture or structural concerns, or any material with a manufacturer-specific installation requirement. That covers most installations, honestly. Trying to save on prep often costs more once a floor starts lifting or a plank starts gapping six months later. Our technicians have up to 14 years of experience with the materials we install, and a single-trade focus means every recommendation and measurement comes from people who work on floors every day.
Flooring Whitney offers free estimates in Whitney. Call (833) 734-5603. We answer 24/7. Fast dispatch from 7am to 7pm, Sunday through Friday. The estimate will give you a written price, and you’ll know exactly what prep is expected of you and what your installer will handle.
Frequently Asked Questions
Yes. In almost every installation, the room needs to be cleared of furniture and personal belongings before the crew arrives. Ask your installer at the estimate visit which items, if any, they’ll move, and get it in writing. Anything beyond that is on you, and it’s best handled a day or two before with a staging area set up outside the work zone.
Acclimation time depends on the material and the manufacturer’s instructions, so there isn’t one number that applies to every floor. Hardwood and engineered wood generally need longer than luxury vinyl plank or laminate; tile and carpet don’t require the same acclimation window. Follow the product instructions and your installer’s written recommendation, and keep your indoor environment stable during the acclimation period.
Sometimes, but it depends on the existing floor’s condition, the new floor’s requirements, and the total height change at doorways and transitions. In our experience, installers usually pull up the old floor to inspect and prep the subfloor, because covering a problem doesn’t fix it. Ask at the estimate whether a floating installation over the existing floor is possible for your specific product and space.
Ask your installer at the estimate whether appliance moving, toilet removal and reinstall, and reconnection are in scope. In many cases the homeowner moves appliances, and a licensed professional disconnects and reconnects any gas line. Don’t attempt gas work yourself. Toilets and dishwashers involve plumbing connections that need to be handled carefully to avoid leaks after the new floor is in.
There’s no single temperature cutoff, because it varies by product. As a rule, you want a stable, moderate indoor environment before, during, and after install, and the HVAC running normally. Ask your installer what temperature range they recommend. Adhesive-based products like tile and glued hardwood are more sensitive to extremes than floating floors, and a hot, dry week can affect both the adhesive and the planks themselves.
Don’t remove subfloor material or attempt a subfloor repair yourself, don’t disconnect gas appliances, don’t pull up glued floors if you’re not sure of the adhesive type, and don’t unstack or move acclimating product once it’s delivered. If you’re unsure whether a prep task is yours or the installer’s, call before you touch it. Call (833) 734-5603 for an exact quote, estimates are free.
The Bottom Line
Preparation is the difference between a flooring install that runs on schedule and one that drifts into extra charges and awkward conversations. Clear the room and the path a day or two ahead. Confirm the scope on removal, appliances, toilets, and baseboards in writing. Let the product acclimate following the manufacturer’s instruction. Keep your indoor environment stable, especially in Whitney’s dry, hot summer and its cool winters. And inspect the subfloor before the crew does. Do those things, and your installer spends their hours installing your floor, not managing surprises. When you’re ready to price it, we’re ready to measure.
Written by the team at Flooring Whitney.